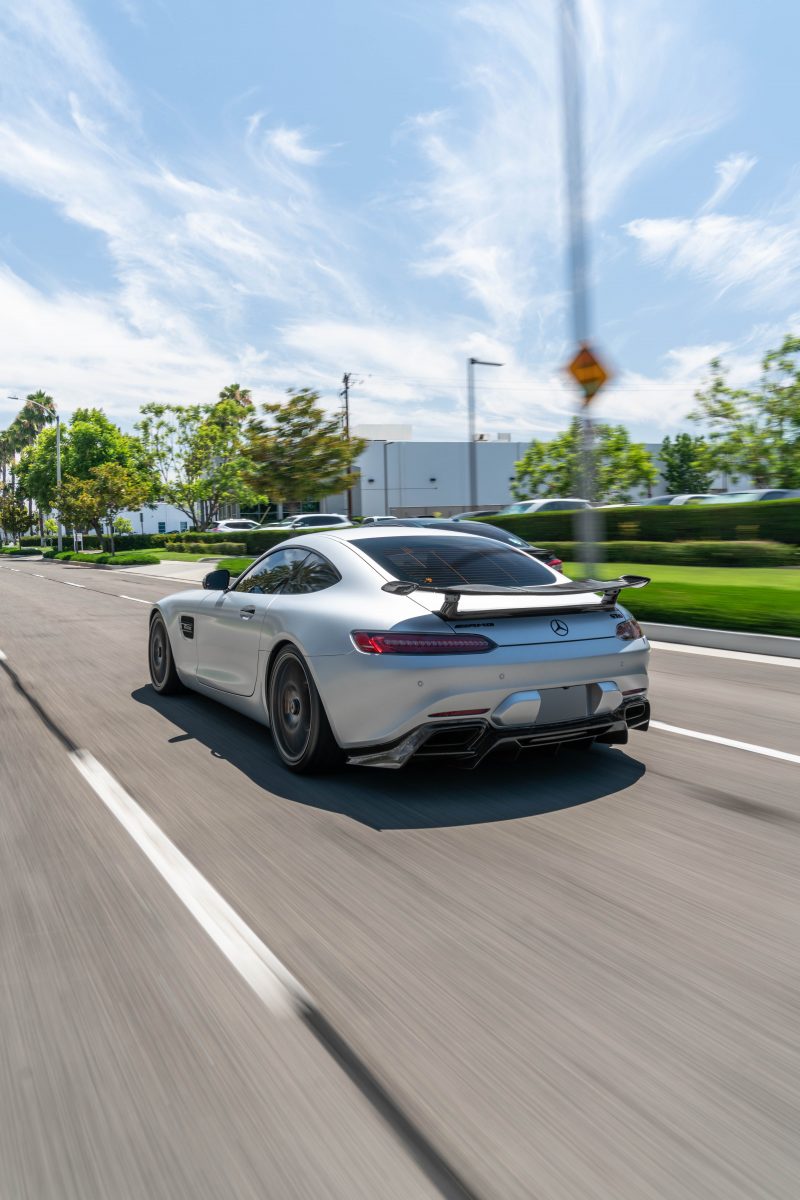
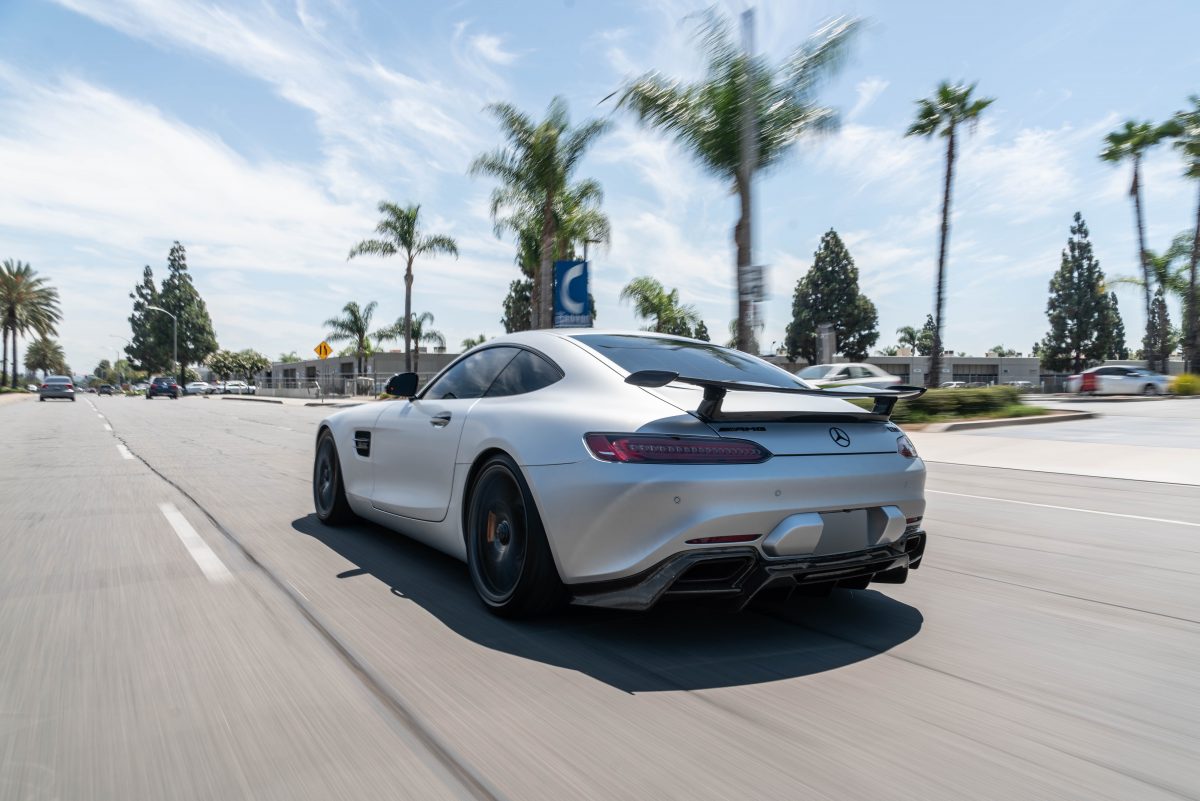
Mercedes C190 GT GTC GTS GTR Carbon Fiber Wing (With Installation Guide)

By far one of the most popular items that we offer for this vehicle is our Mercedes C190 GT GTS GTC GTR Style Carbon Fiber Wing. Currently there are not many options for carbon fiber pieces like this. This wing is the Mercedes C190 GT GTS GTC GTR Style CF Wing found on the RW Carbon site. Its popularity rises from the fact that it is the most aggressive wing we have to offer without the steep price point. This wing is bolt on installation and ready to be installed on the vehicle straight out of the box. Another real benefit to this wing is that it adds downforce on the vehicle at higher speeds.
Installation is fairly simple if you choose to perform a self install however it is always recommended that the GTR style wing is installed by a professional.
The self installation video is provided by us at RW Carbon here. A step for step breakdown of the video will also be provided below.
Tools to get started: Plastic trim tool, brushless drill, Torx T20, 4mm hex head, 8mm socket, 3/4 inch extension, and a 10mm wrench.
Step 1: Using the trim tool and torx wrench, remove the interior door panel in the trunk. There will be an access tab towards the center of the trunk hood that can be removed with the trim tool. Removing this will allow access to the torx bolts that then can be removed from the handle with the torx wrench. Going around the sides with the trim tool, the panel will be able to be popped off. After the panel is removed, there will be two cords for the lights that can be unplugged.
Step 2: With access to the underneath portion of the OEM wing, there will be about 16 nuts attached to the studs on the base plate that need to be removed. With these removed, the wing will be able to be taken off.
Step 3: The new GTR style wing can now be placed in slot just to make sure that everything lines up. Note: If the car requires a wing delete, there will be a slit in the trunk from factory that requires no extra drilling. The wing delete will be placed in that slit before completion of the install.
Step 4: Weather stripping will now be installed to prevent leakage. Using 75-99% alcohol, wipe down the underside of the wing base. This removes all particles and debris. The adhesion promoter can then be applied to the surface where the weather stripping will be. The weather stripping can then be applied along the sides, preferably starting and ending in the center.
Step 5: Placing the wing back in slot, only 10 bolts will be used for this wing as opposed to the 16 removed earlier. Use the drill to tighten each. If possible, finish each off by hand tightening.
Step 6: Test the weather stripping. Using a hose, you can simulate rainfall and apply a generous amount of water to the wing area. Check the inside for any wet spots.
Step 7: If no wet spots, the interior panel can then be reinstalled. The light cords can be plugged in. Finish it off by installing the handle removed from the interior panel earlier. You are now finished.
If you or anyone else you know have any further questions, please feel free to reach out to us via email info@rwcarbon.com or visit our website at www.rwcarbon.com. We would love to hear from you about your cars, comments, and or questions.
Recent Posts
Post Categories
- Apparel (2)
- Audi (6)
- BMW (526)
- C190 GTC (2)
- Carbon Fiber Education (6)
- Company Updates (14)
- Events (10)
- F80 M3 (15)
- F87 M2 (5)
- F90 M5 (5)
- F95 X5M (1)
- Ferrari (2)
- Industry News (18)
- Jeep (2)
- Mercedes (197)
- Porsche (3)
- Product Announcements (1)
- Project Cars (30)
- Promotions (5)
- RW Signatures (5)
- Sliplo (1)
- Tesla (10)
- Uncat (27)
- W205 C63S (9)
RW Carbon
(714) 328-4406
Monday – Friday: 8am-4pm
Saturday & Sunday: Closed


