Step 1 on our RW Carbon Fiber Mercedes W205 C63S AMG build is a full carbon fiber kit upgrade. This week we installed all our current carbon fiber parts and in this blog post I will recap each and every one as well as installation tips and procedures.
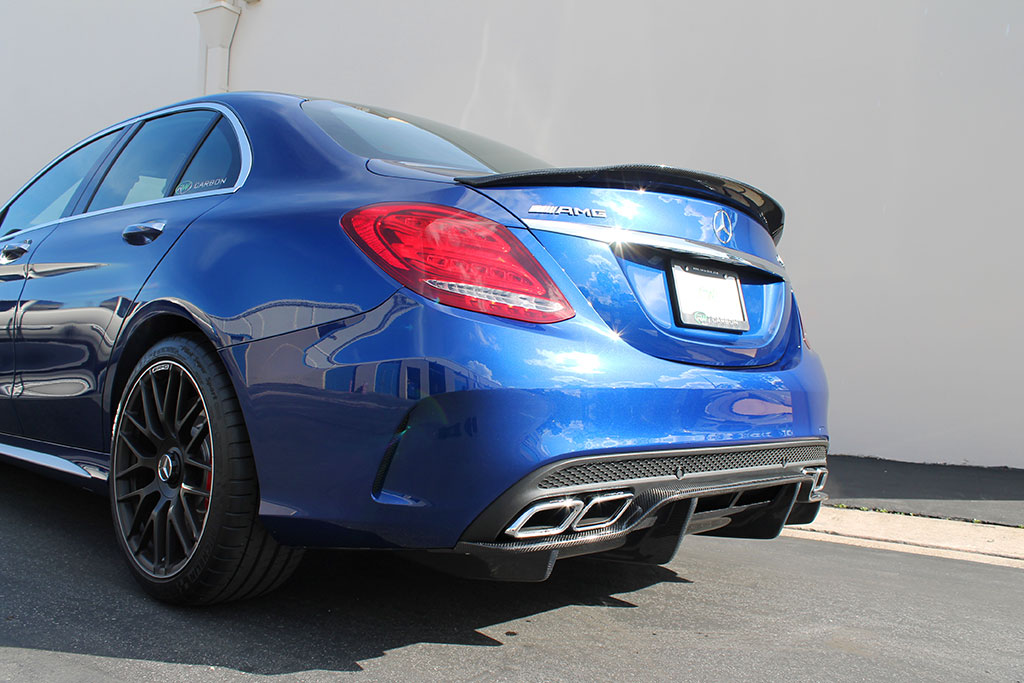
First product installed was the GTX Carbon Fiber Trunk Spoiler. The OEM AMG spoiler will need to be removed prior to installing this piece. As far as adhesive this spoiler will require the black 20 lbs 3M double sided molding tape. Test fit the spoiler and mark on the tips for easier installation. On the underside of the spoiler lay an inch strip on the forward portion and a half inch strip on the back. Making sure to bring it to right to the tips of the spoiler. Peel off the backing and lay the spoiler on the car. Once positioned correctly, apply even pressure for several minutes.
Next up we installed the Carbon Fiber Mirror Replacements. You will need to tilt the mirror down and use a plastic pry tool to undo the tabs on the top. Repeat with the bottom, then slide the mirror housing straight out being mindful of the tabs and guides. Once removed, take the screws that hold in the lens and switch them over to the new CF housings. Once finished, install the mirror caps by matching up all the guides and tabs, being very careful not to break or bend the tabs. You will hear a click then they are all seated correctly.
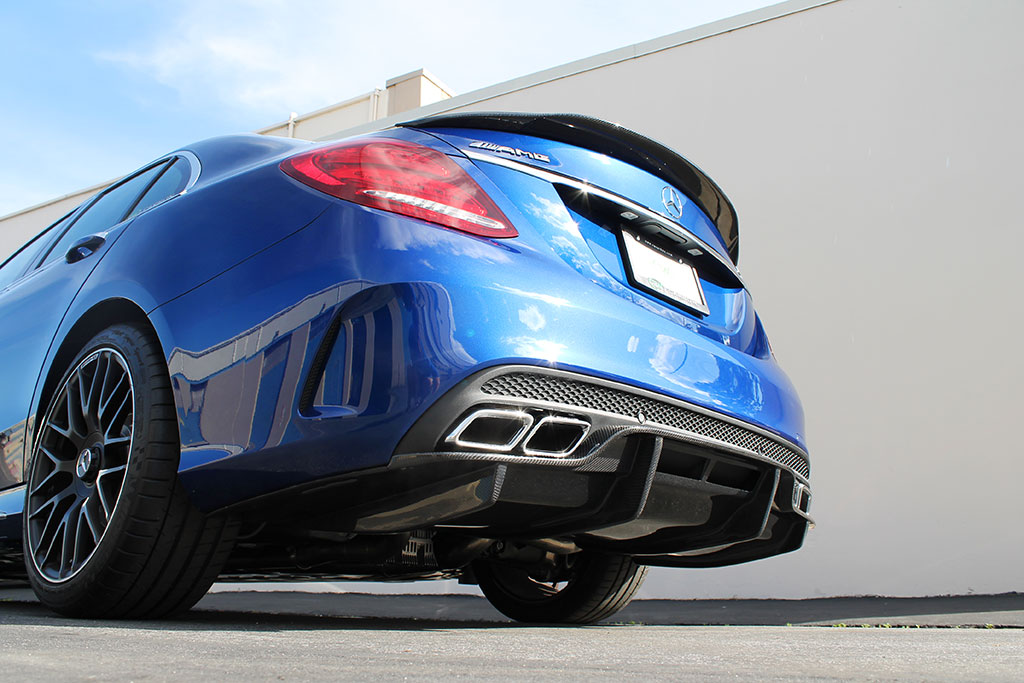
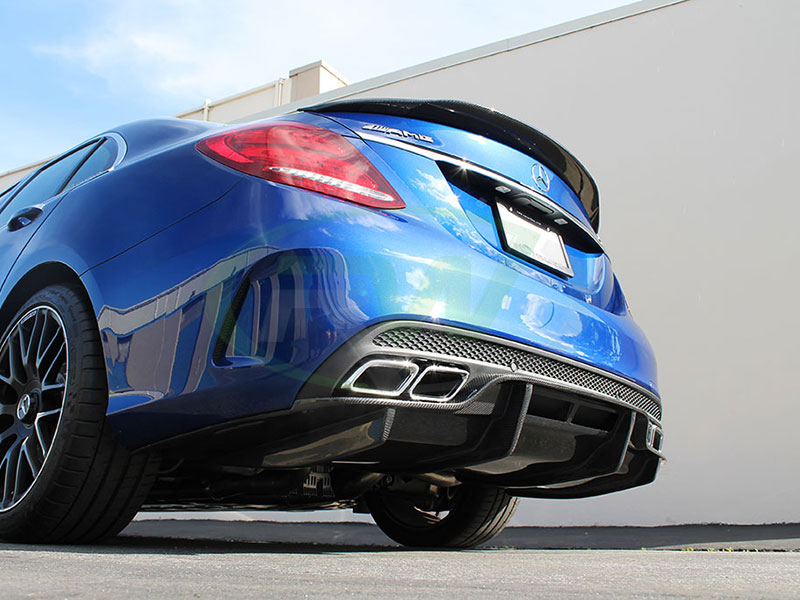
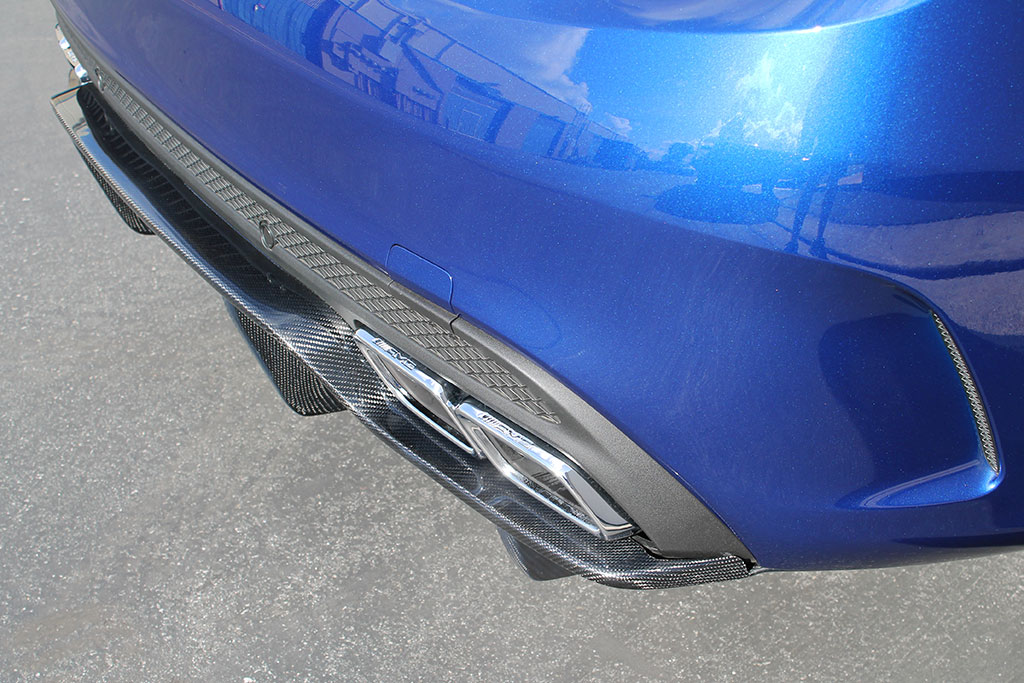
After the mirror caps we attempted the GTX Carbon Fiber Rear Diffuser. The OEM diffuser does not need to be removed. However, you will need to remove the silver trim pieces below the exhaust tips. Pull on them will even pressure and they will pop out. Leave the center silver trim piece in place, but we did wrap it in gloss black so the silver does not show through. Mount the diffuser up to get a feel for fitment. There are 3 pre dilled holes along the side but we added an additional 7 per side for a more secure hold. Once in place we inserted 10 self taping screws even placed per side. Have someone hold each side tightly in place while the screws go in.

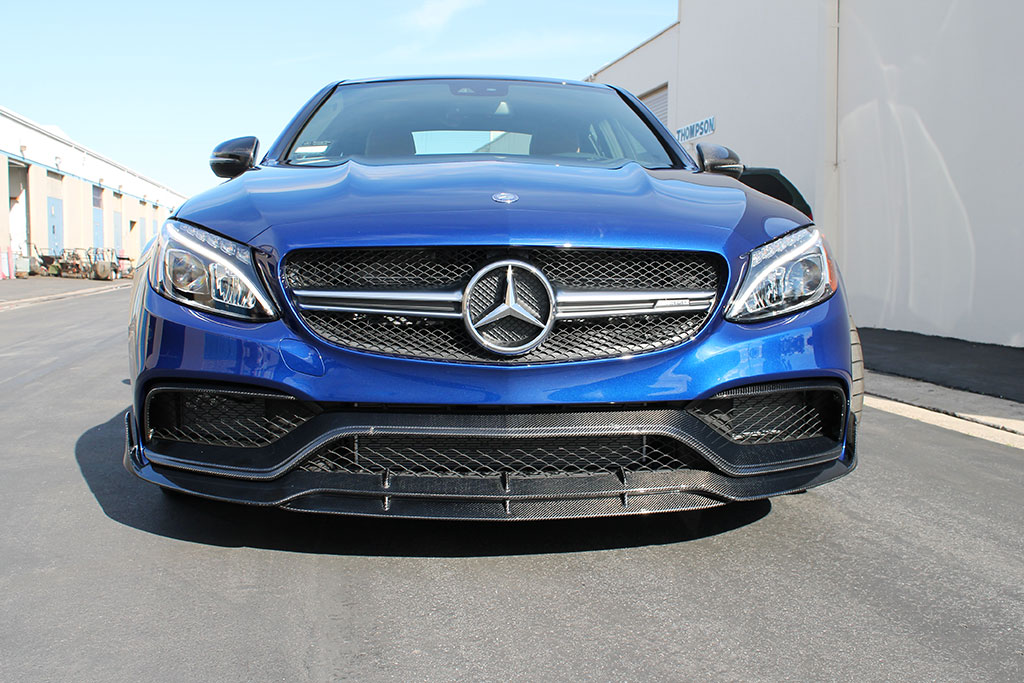
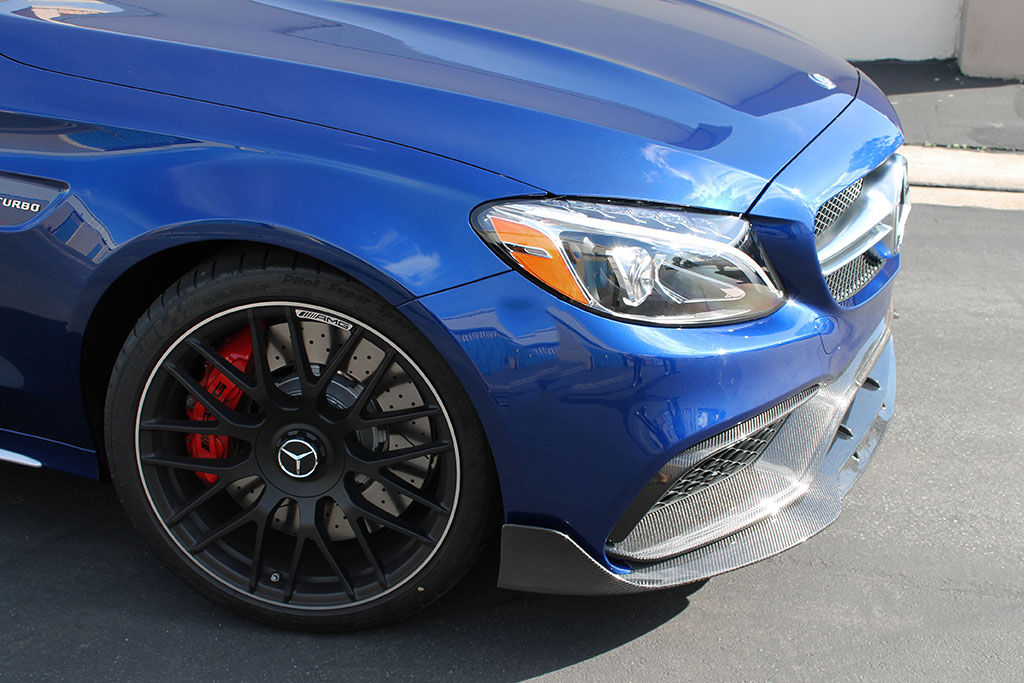
Next we went with our brand new Front Bumper Trim Inserts and Winglets. This is the hardest step as you will need to remove the front bumper. There are clips and screws in the wheel wells, on top and bottom of the bumper. There are also 2 tricky ones on either side of the lower center mesh. To get these you must get all other clips and screws first. Pry the bumper off and you can reach down and undo them.
Once off, view the back. You will see black and blue tabs. Remove all the black tabs and the lower bumper insert will comes off. The new insert will simply snap into place and replace the OEM piece. For the upper winglets there are 4 small torques screws. Remove them and take off the OEM winglets. Line up the new carbon fiber ones and re-insert the screws. We noticed it was easier to drill holes in the CF tabs and insert a larger screw for a better hold. Once those are mounted you can re-install the bumper.
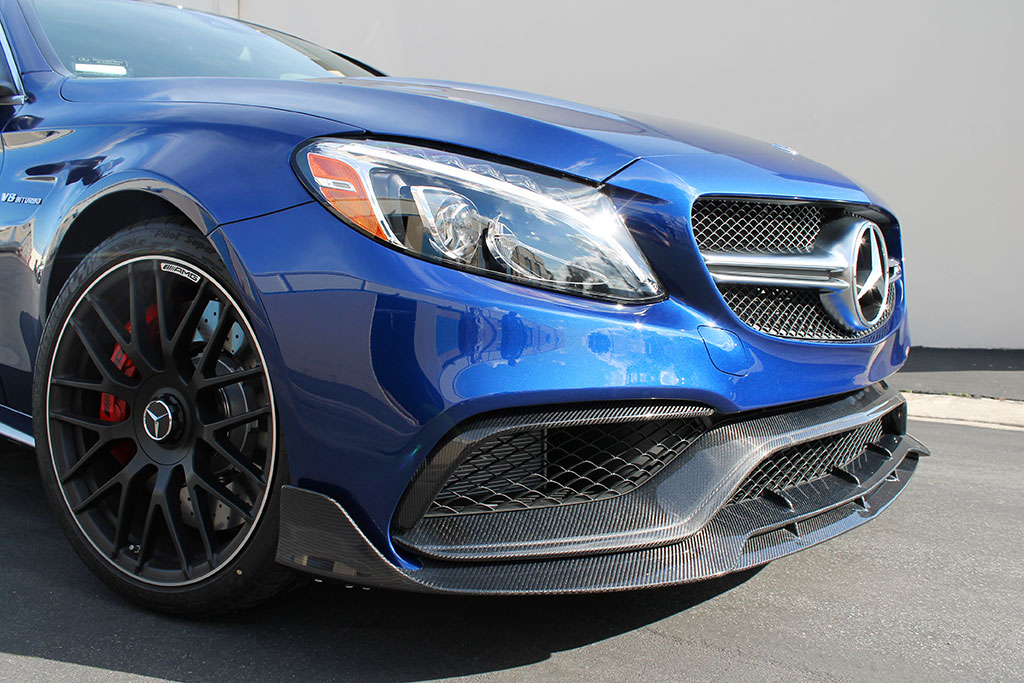
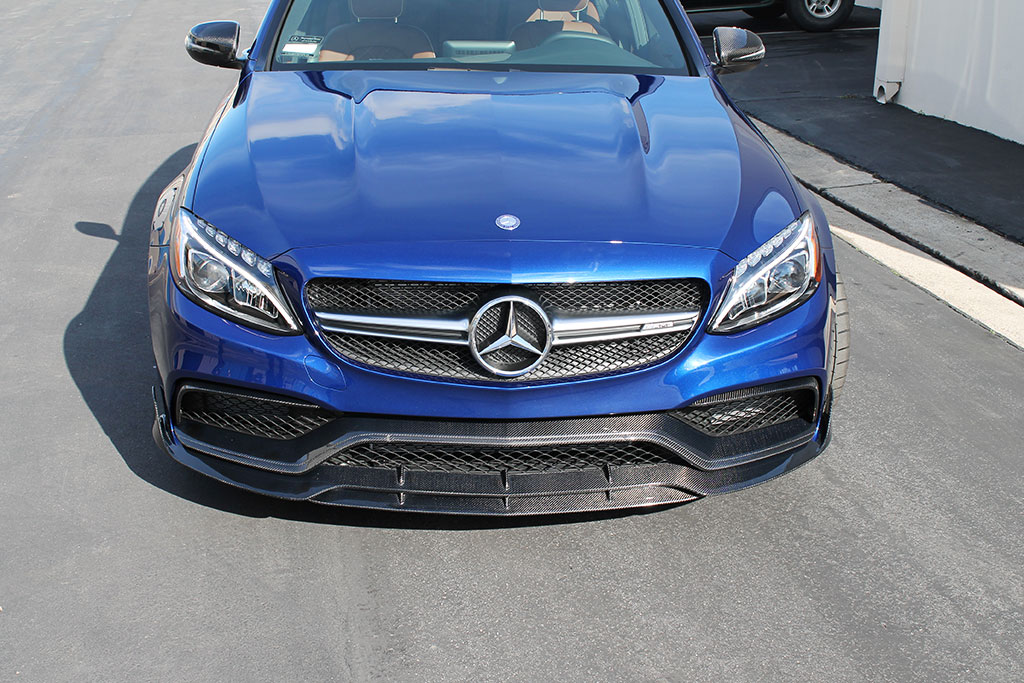
Lastly, is the Brabus Style Front Lip Spoiler. To protect the bumper and paint from scratches we wrapped the lower portion. We found this lip fits better, with a little sanding. Test fit first, but we found sanding a little bit on each end made the fitment more flush. We have heard of some customers not using self taping screws, but we voted for it just in case. We drilled 6 even spaced holes along the bottom of the lip for the 1″ long self taping screws. We also applied a strip of 1″ wide 3M double sided tape to the top center section so it holds tightly along the black mesh. Mount the lip and apply pressure to the tape areas, then insert your self taping screws, making sure someone is hold the lip tight against the car. Once the screws are in, hand tighten and stand back and enjoy.
If you have any questions about these W205 C63S Carbon Fiber Parts, or the installation process please feel free to contact a carbon fiber specialist at RW Carbon. Contact via phone at 714.328.4406 or email at info@rwcarbon.com.

Behind the scenes of rwcarbon.com. Where you can check out RW Carbon's specials, new products, events and much more!